These pens are so cleverly designed, and the restoration process was a bit complicated, so I thought I’d document it.
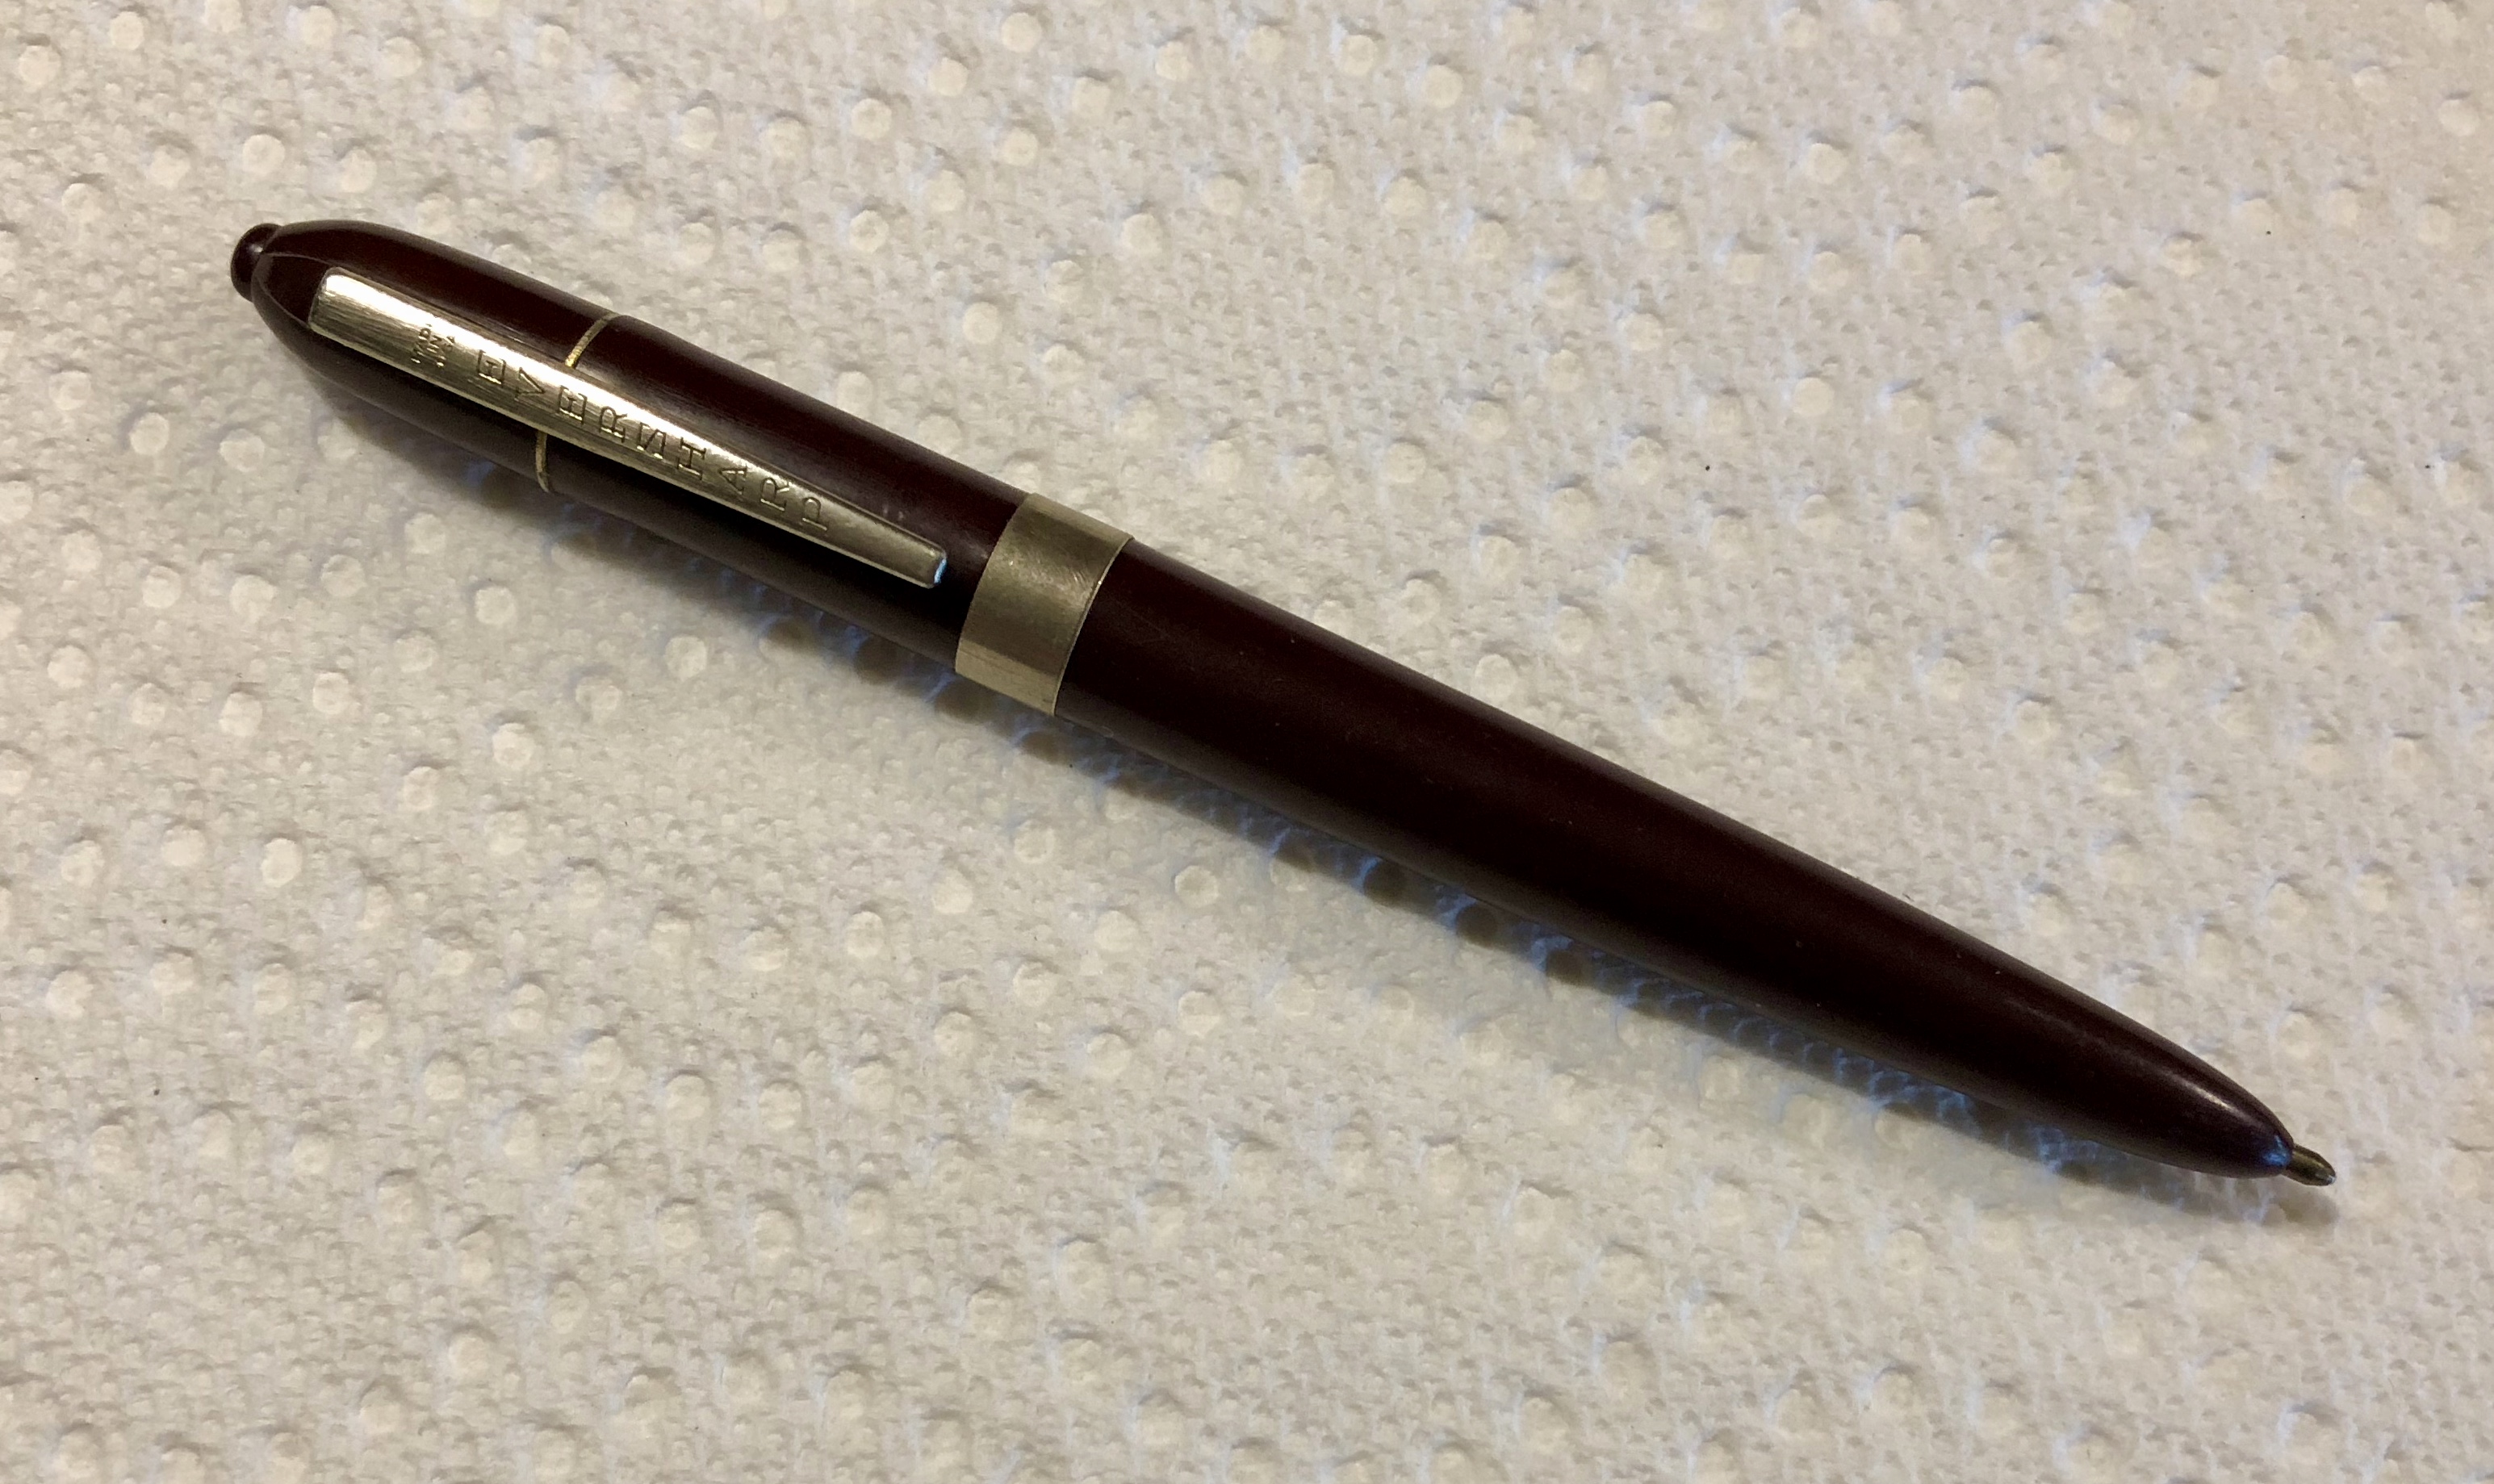
This is the Eversharp Retractable that was made after the CA and using patents acquired in Eversharp’s purchase of Kimberly (I think). I’ve seen the manufacture dates at 1947–1950, and I’ve seen it called “the Eversharp Retractable” and “Eversharp Kimberly retractable” and “Eversharp #610.” It’s pushbutton actuated, and retracts by pushing down on the top part of the clip. Very clever design. Unfortunately, no currently available refills fit quite right, and it has to be just right—the refill is friction-fit to the actuator, and the nosecone has a very small opening. Cross refills fit the front, but not the back. So, I used parts of old refills to create friction-fit adapters!
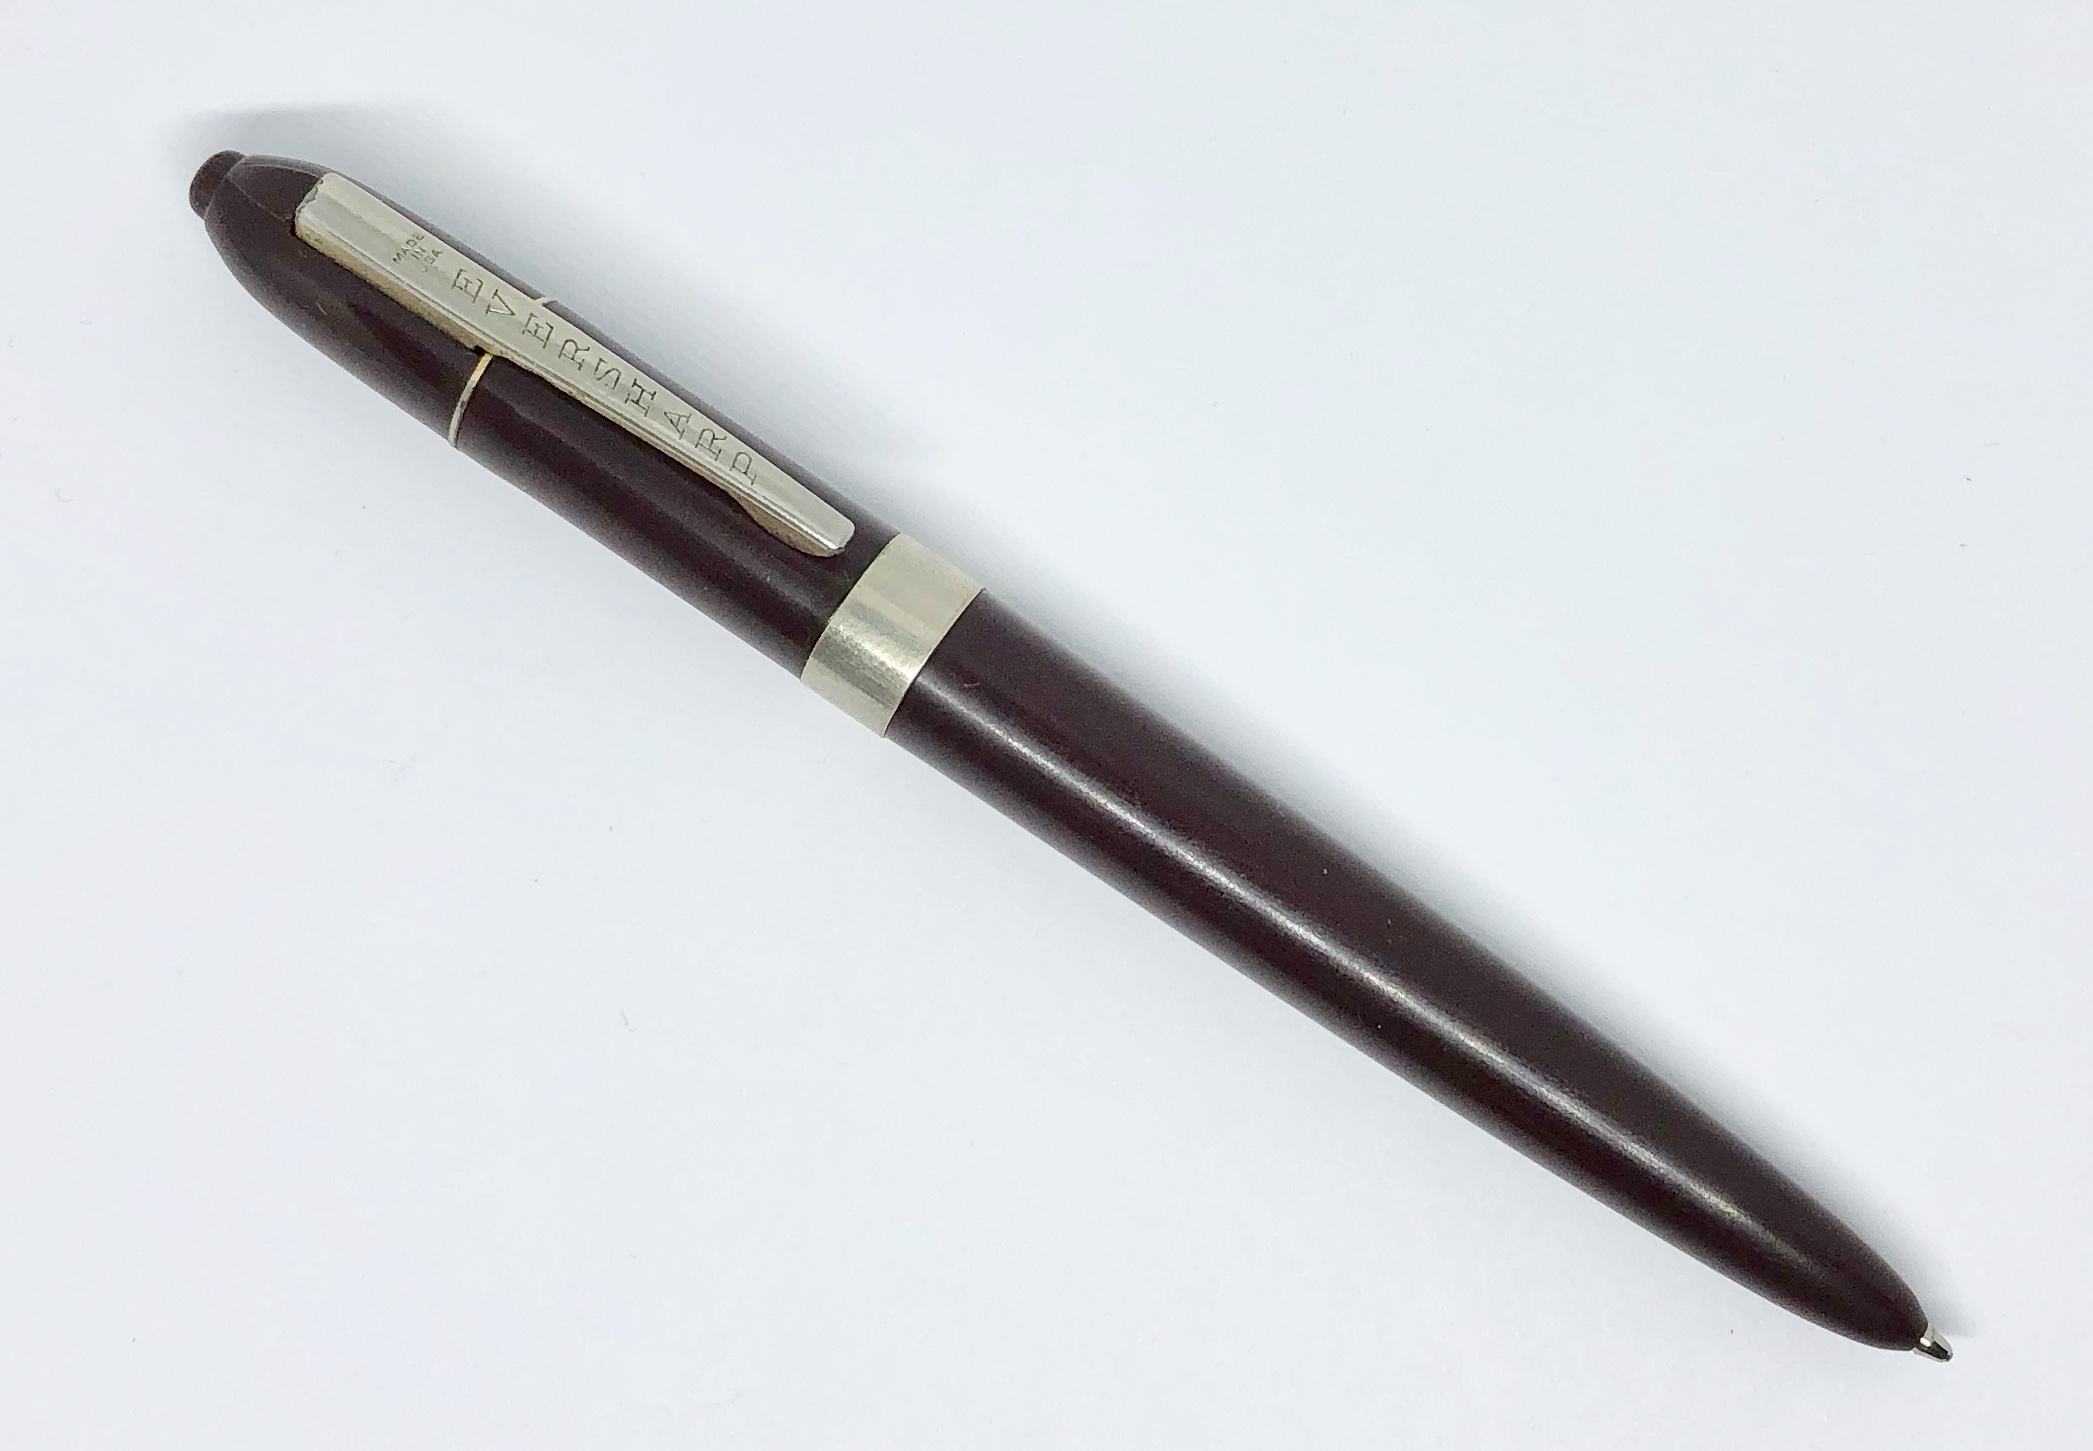
Here’s the unrestored pen:
Below, I’ve taken out the vintage refill, marked “Eversharp Kimberly.”

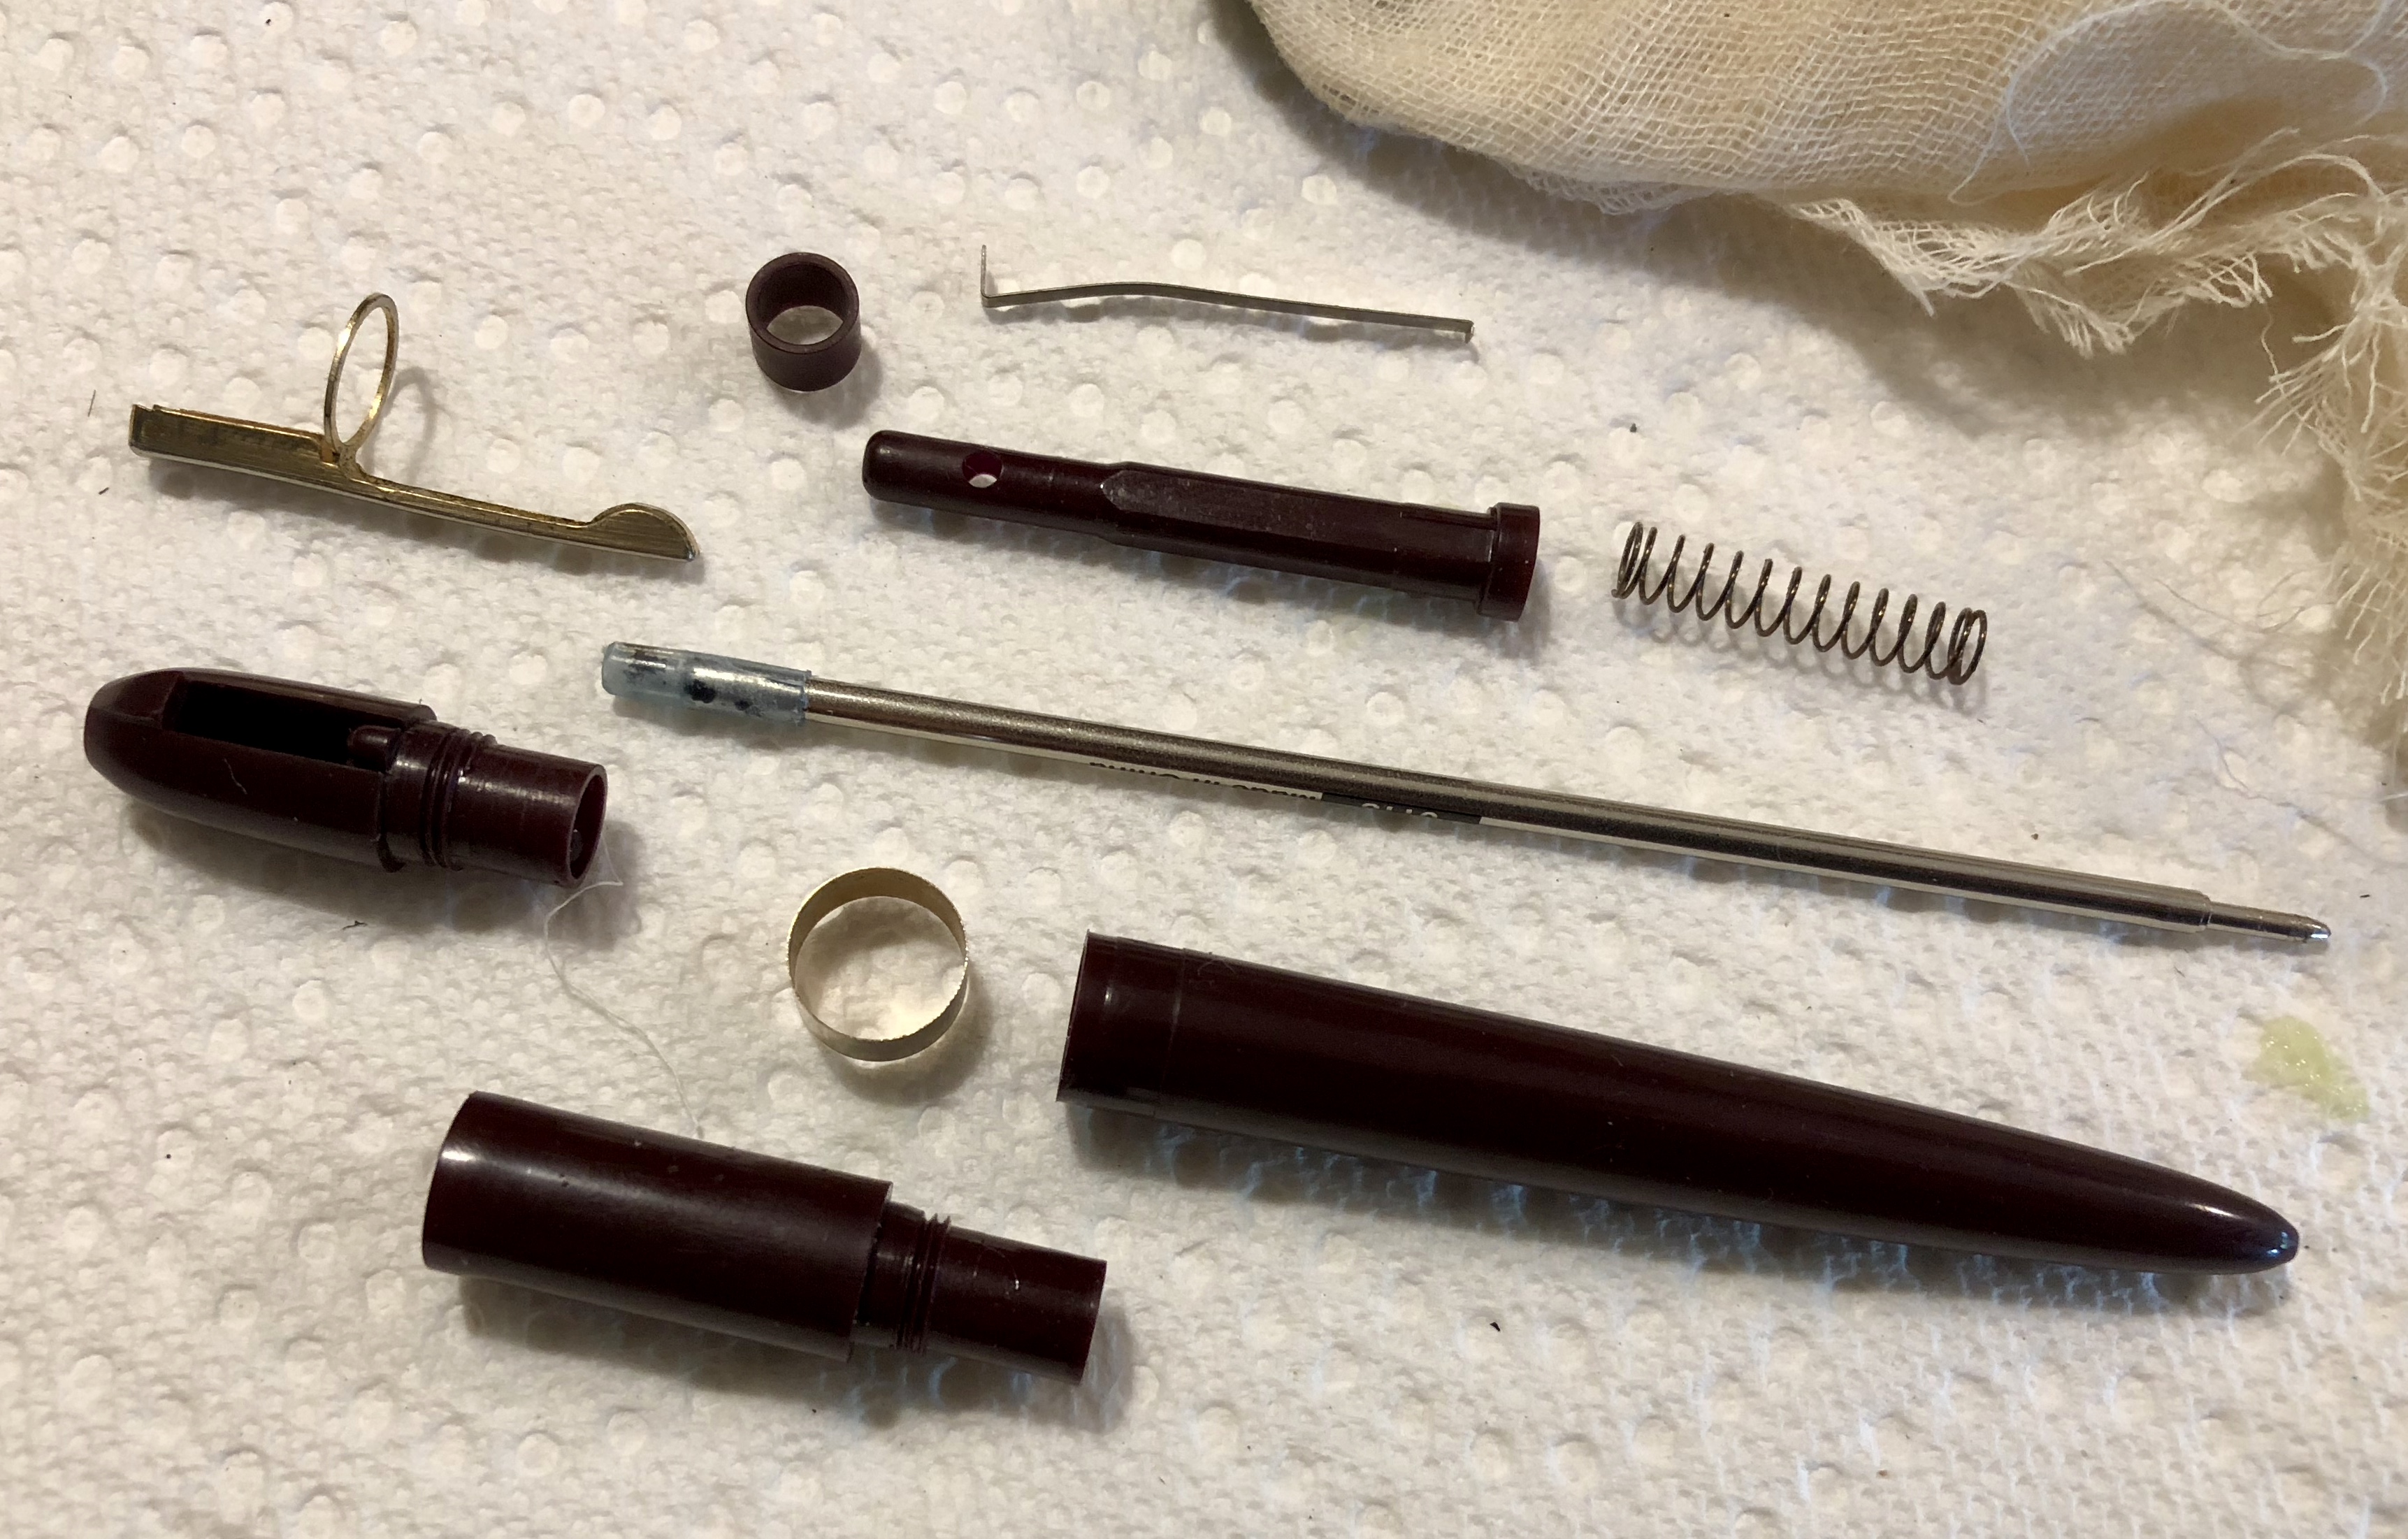
Below is the initial breakdown of the top assembly. There’s a spring in the top barrel section that pushes the tube insert back. When the top button (the end of the tube insert) is depressed, it releases the 7-shaped tension bar as shown. When assembled, the 7-shaped tension bar pops up in that window, holding the refill forward for use, against the pressure of the spring. Pushing down on the top of the clip pushes the 7-shaped tension bar in, allowing the spring in the barrel to cause the tube to escape, retracting the refill. It’s a clever design, and a lot easier understand when you see it than it is to explain.

Below, the 7-shaped tension bar has been removed, along with the collar that holds it in place. You can see the hole in the side of the tube that accommodates the top end of the tension bar.

To crease a friction-fit adapter for the cross refill, first I cut a small section off of the dried, vintage refill, and pulled the black plastic end off the Cross refill.

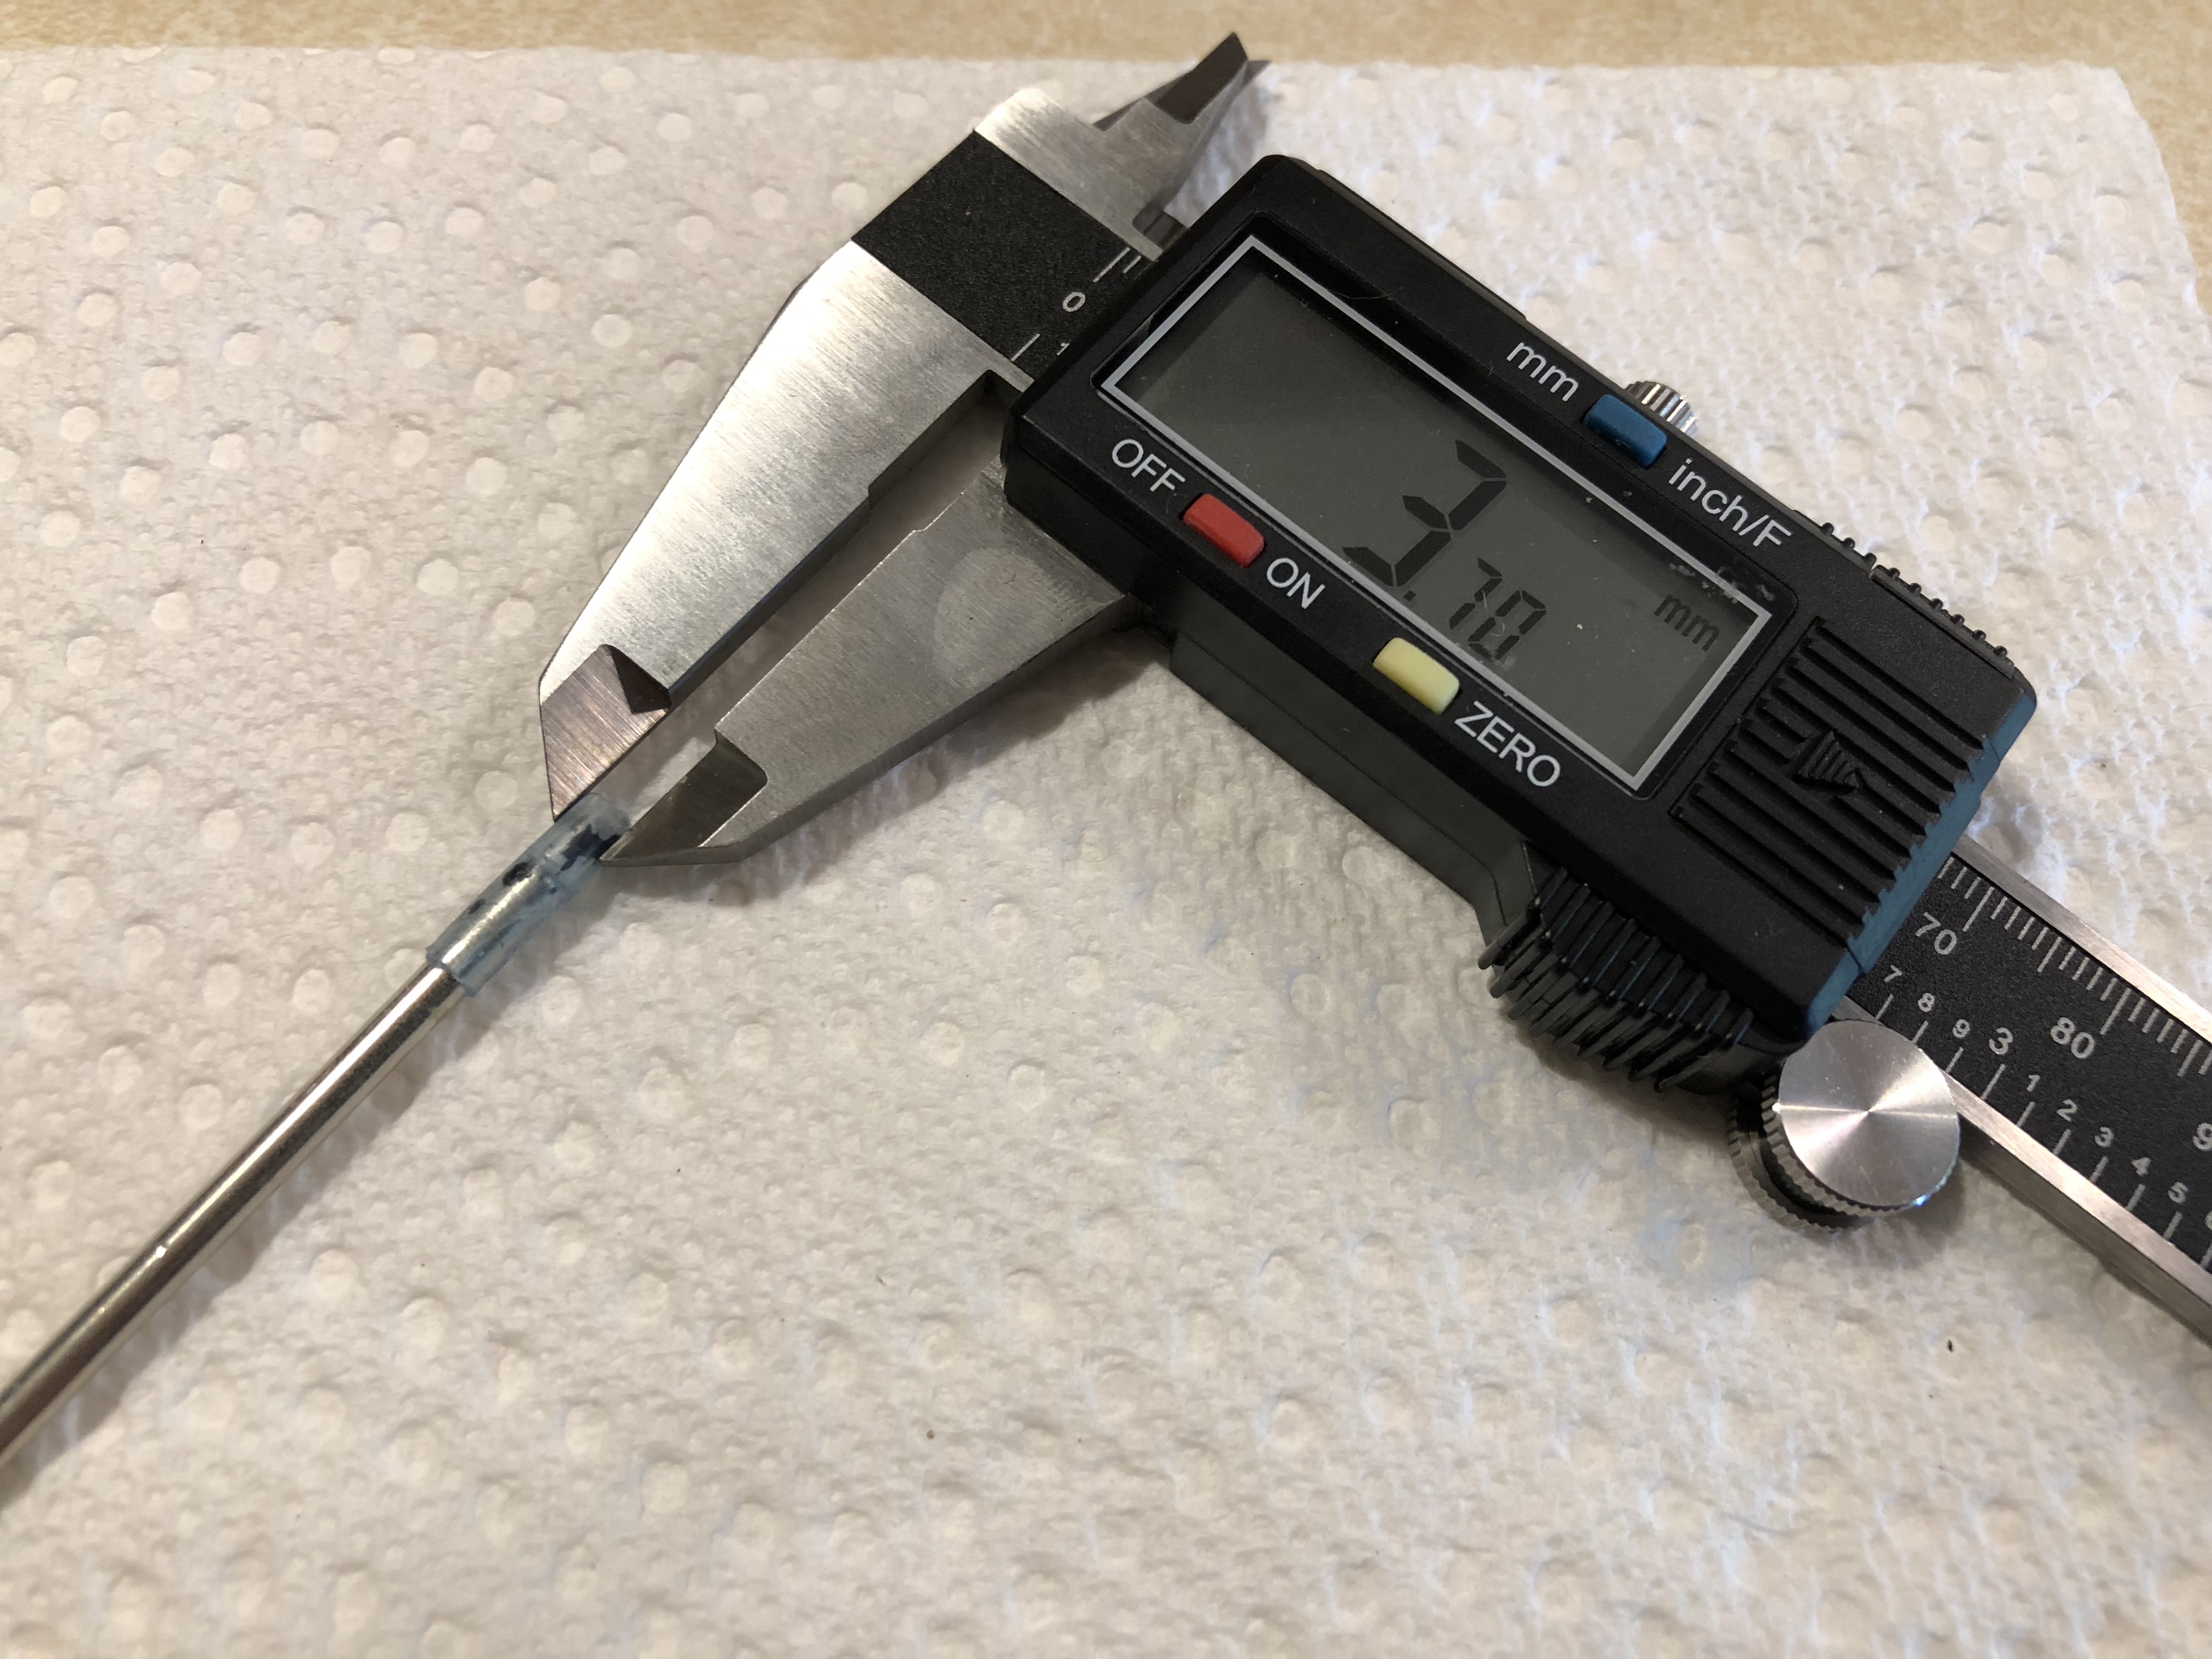
After this, I used a drill press to widen the interior diameter of the vintage insert section to accommodate the end of the Cross refill, which is 3mm in diameter. There’s not much room for error—the vise and drill press are pretty close to non-optional to get this to work well.

The vintage refill isn’t much wider than the Cross refill, and inserting the Cross refill pushed it out a bit. The end also needed to be tapered to get a good friction fit.
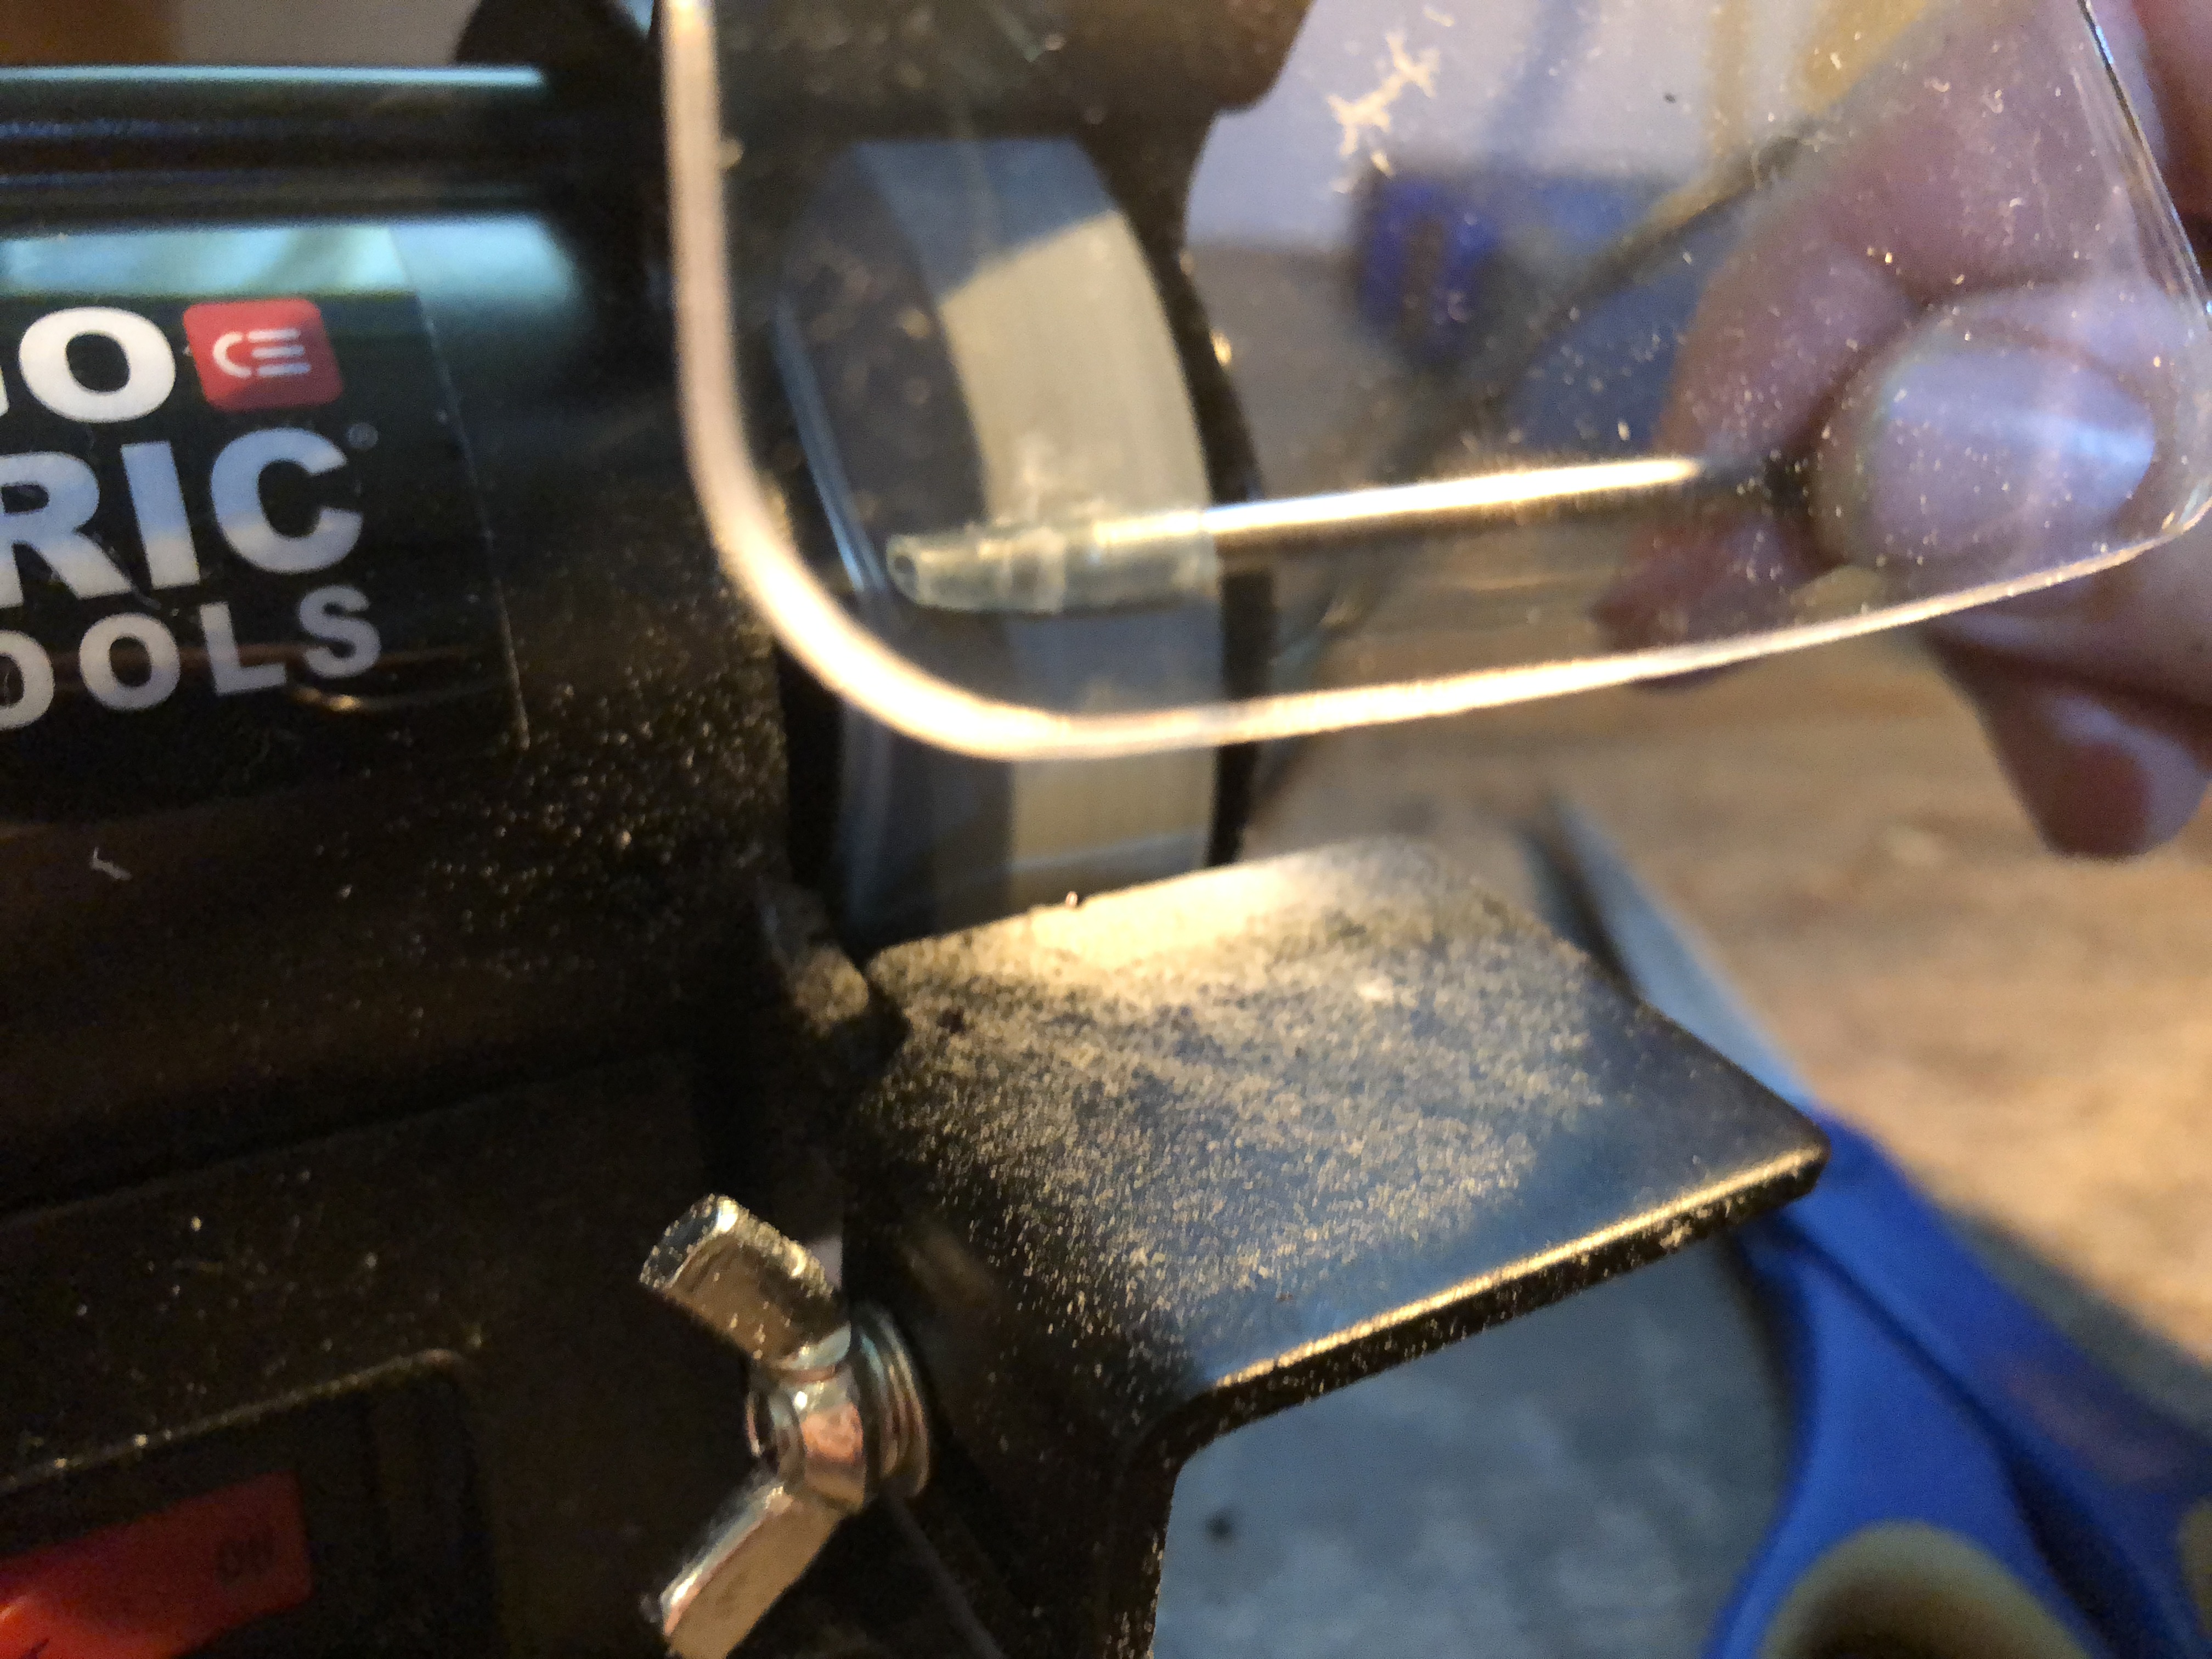
While using a bench grinder to thin and taper the adapter made from the vintage refill, I also filed the length down so that the point of the refill would stick out the right amount when actuated, and not stick out at all when retracted.
Here’s the Cross adapter with the tooled adapter. I also ultrasonically cleaned all the non-metal parts in ammonia solution, sanded all exterior non-metal parts with 8000 and then 12000 grit micromesh sandpaper, buffed the exterior non-metal parts, and then hand-polished all exterior parts with cheesecloth and a microabrasive polish.
And here it is all back together and ready to write!
In the future, to replace the refill:
1. Unscrew the barrel.
2. Pull out the insert.
3. Pull off the adapter from the end of the old refill.
4. Pull off the black plastic thing from the end of a new Cross refill.
5. Put the adapter on the end of the new refill, and
6. Stick the refill in firmly, and screw the barrel back on.